Whether you are planning to study abroad, travel for work, or take a family holiday, a passport is your most important identity and travel document. The good news is that applying for a passport in Ahmedabad has become much simpler thanks to the online Passport Seva system. You fill the form online, pay the fee, book an appointment, and visit a Passport Seva Kendra (PSK) or Post Office Passport Seva Kendra (POPSK) only once for verification.
This guide walks you through the entire process step by step, explains the documents you need, and shares practical tips to avoid delays and rejections.
Who Can Apply and What You Need to Know First
Any Indian citizen can apply for a passport. There are two main booklet sizes — 36 pages and 60 pages — and two service types:
- Normal (Fresh/Reissue): The standard process, delivered in a few weeks after successful verification.
- Tatkal: A faster scheme for urgent needs, with a higher fee and some extra document requirements.
You can apply for a fresh passport (first time) or a reissue (renewal after expiry, exhaustion of pages, change of details, or lost/damaged passport). Ahmedabad residents are served by the Regional Passport Office and multiple Passport Seva Kendras and Post Office Passport Seva Kendras across the city and nearby areas.
Tip: Always start the process on the official portal passportindia.gov.in only. Avoid agents who charge high fees for something you can easily do yourself.
Step 1: Register on the Passport Seva Portal
- Go to www.passportindia.gov.in and click on "Register Now" under the New User section.
- Choose your Passport Office (for example, the one covering your area of residence), enter your name, email ID, date of birth, and create a login ID and password.
- Verify your email through the link sent to your inbox to activate the account.
Keep your login details safe — you will need them for tracking your application later.
Step 2: Fill the Online Application Form
After logging in, click "Apply for Fresh Passport / Reissue of Passport." You have two options:
- Fill online: Complete the form directly on the website (recommended for most people).
- Download and upload: Fill an offline e-form and upload the XML file.
You will need to enter personal details, address, family details, and, if applicable, previous passport information. Fill everything carefully and match it exactly with your documents — even a small spelling difference between your form and your Aadhaar can cause problems.
Step 3: Pay the Fee and Book Your Appointment
Once the form is submitted, click "Pay and Schedule Appointment." Payment must be made online (net banking, debit/credit card, or UPI). Appointment booking is only enabled after successful payment.
- The exact fee depends on the booklet size, applicant age, and whether you choose Normal or Tatkal service. Fees for children and senior citizens are usually lower.
- Choose a convenient PSK or POPSK in Ahmedabad and pick an available date and time slot.
Because fees and slot availability change from time to time, always confirm the current amount shown on the portal at the time of payment.
Tip: Appointment slots open at fixed times each day and can fill up quickly. If you don't see a slot, log in early in the morning or try again after a day or two.
Step 4: Print or Save the Application Receipt
After booking, download the Application Receipt (ARN slip) which contains your Application Reference Number and appointment details. You can either take a printout or simply show the SMS with your ARN at the Kendra — physical printouts are generally not mandatory, but it is safer to carry one.
Documents You Need to Carry
Carry original documents plus one self-attested photocopy of each. The exact list depends on whether it's a fresh application or reissue, but commonly required documents include:
Proof of Address (any one)
- Aadhaar card
- Electricity, water, gas, or landline telephone bill
- Bank passbook with photo
- Rent agreement (registered)
- Voter ID card
Proof of Date of Birth (any one)
- Birth certificate
- School leaving certificate / 10th mark sheet
- Aadhaar card or PAN card
Other Documents
- Aadhaar card as identity proof
- For reissue: your old original passport plus self-attested copies of the first two and last two pages
- For minors: parents' passport copies and other supporting documents
For Tatkal applications, additional identity verification documents may be required. Always check the exact document list generated for your specific application on the portal.
Important: Your name and details must match across all documents. If your name differs on Aadhaar and your school certificate, sort this out before applying to avoid rejection.
Step 5: Visit the Passport Seva Kendra
Reach your chosen PSK or POPSK about 15–20 minutes before your appointment. The visit generally follows this flow:
- Entry and token: Show your appointment confirmation (ARN) and ID at the entrance to get a token.
- Counter A: Your documents are scanned, your photo and fingerprints (biometrics) are taken.
- Counter B: Verification of your details by a Passport Seva officer.
- Counter C: Final review and approval of your application at the Kendra level.
The whole visit usually takes about an hour if there is no heavy rush. Once done, you will get an acknowledgement that your application has been forwarded for the next stages.
Step 6: Police Verification
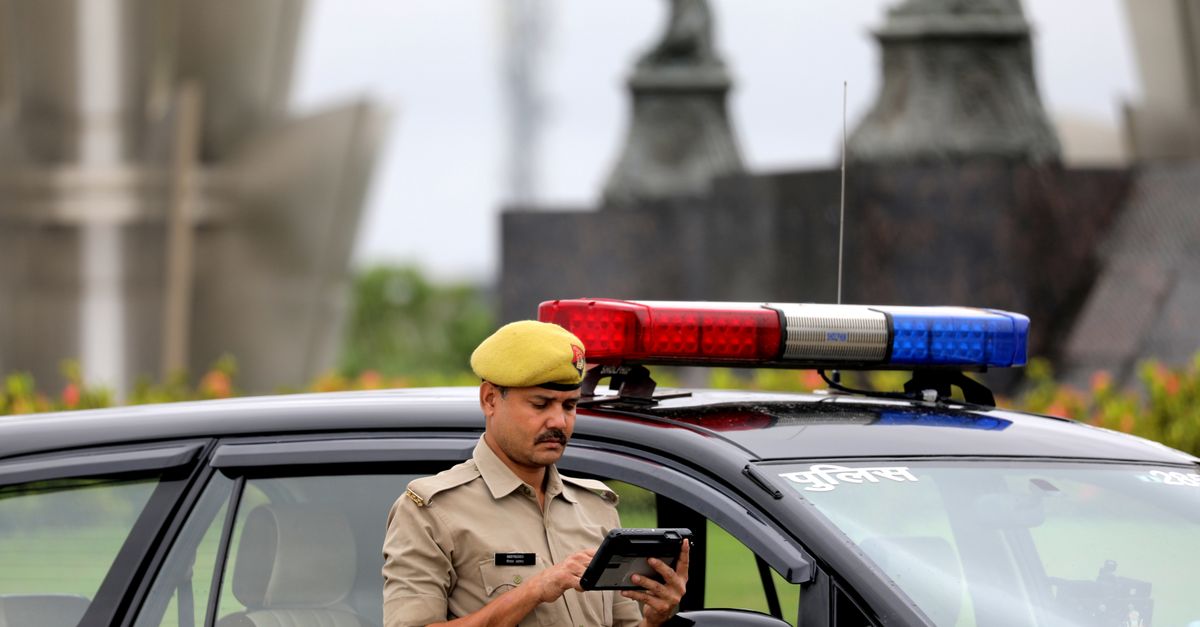
For most fresh passports, police verification is done after your PSK visit. A local police officer may visit your address, or you may be asked to visit the police station with your original documents. Cooperate promptly and keep your address proof and photographs ready.
- Pre-police verification may apply in some reissue cases, meaning your passport is printed first and verification happens later.
- Make sure someone is available at your registered address, or that you respond quickly if called.
Step 7: Track Your Application and Receive the Passport
You can track the status anytime by logging into the portal or using the mPassport Seva mobile app with your Application Reference Number. Once your passport is printed and dispatched, you will receive it by post (Speed Post), and you can track the delivery consignment number too.
Keep your phone reachable — the postal delivery may require your signature and an ID for handover.
Common Reasons for Delay or Rejection
- Mismatch between the name or spelling on the application and documents
- Incomplete or unclear address proof
- Not being available during police verification
- Pending court cases not declared correctly in the form
- Blurred or invalid document copies
Double-checking your form before submission and carrying clean, valid originals prevents most of these issues.
Quick Tips for a Smooth Experience
- Apply only through the official Passport Seva portal or app — never pay extra to unofficial agents.
- If you make a mistake in the form, you can usually edit it before final submission and payment.
- For students needing a passport urgently, consider the Tatkal scheme, but check the extra document rules first.
- Keep your Aadhaar mobile number active, as OTP-based verification is often used.
- Save digital copies of all documents and receipts on your phone for backup.
Remember: Passport fees, appointment availability, and document rules can change. Always confirm the latest details on the official website before starting.
Final Thoughts
Getting a passport in Ahmedabad is straightforward once you understand the flow — register, fill the form, pay, book your slot, visit the Kendra once, complete police verification, and receive it by post. The key is accuracy: matching documents, correct information, and being responsive during verification. With a little preparation, you can complete the whole process yourself without paying anyone extra, and hold your passport in hand within a few weeks.
Frequently Asked Questions
What documents are required to apply for a passport in Ahmedabad?
You will need a valid proof of address (such as an Aadhaar card, utility bill, or bank passbook) and a proof of date of birth (like a birth certificate, school leaving certificate, or PAN card). Ensure your name matches across all documents.
How can I track my passport application status online?
You can track the status of your application anytime by logging into the official Passport Seva website or using the mPassport Seva mobile app with your unique Application Reference Number (ARN).
What happens during the Passport Seva Kendra visit in Ahmedabad?
At the Kendra, your documents are scanned and your photo and biometrics (fingerprints) are taken at Counter A. After this, your details are reviewed and verified by officers at Counters B and C.